
DRAWSTRING TOTE BAG
If you are a beginner and waiting to experiment with your sewing machine, this drawstring tote bag is a simple yet creative sewing project to begin with. It is not too difficult and does not take much time to complete either. If you are looking at gifting something small yet cozy, then this proves to be a perfect venture. You will need the following things to shape your little drawstring tote bag-
Material
1 meter fabric
Twill tape of any colour
Ribbon for strings around 1 mete
Method
Cut your fabric in two parts around 13 inches x 10 inches leaving you with some extra fabric Turn the 10 inch edge under 1/4th inch and stitch it down; repeat the process on the other piece
Lay your two pieces on top of each other and stitch the seam on 3 sides, leaving 2 inches below the top edge
Press the side seam flat and then turn the raw edge of the fabric under toward the seam. Now stitch around the top opening in place
Turn the top down 5/6th an inch and stitch the bottom edge making a proper casing
Cut the ties into two parts and put them on both sides through the casing. Tie them at the ends and pull together to see the bag close.
Your drawstring tote bag is ready!
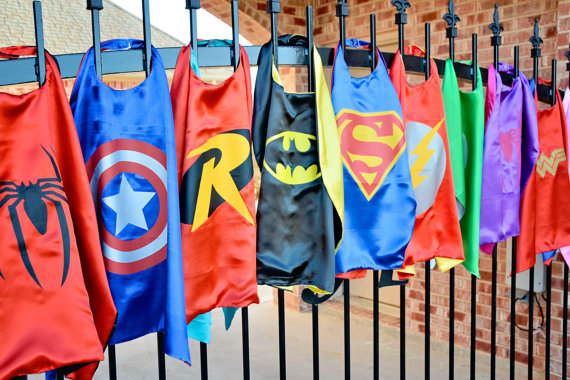
SUPER HERO CAPE
Aren’t those little munchkins of yours adorable especially when they pretend to be dressed in their favourite superhero attire! You can probably surprise them by creating a superhero cape with a choice of their colour combination and personalize it for them only. Let us have a quick look at creating this simple yet fun design for your little one.
Material
Approx. 1 meter of fabric in any 2 combinations
Felt in any colour
1 inch piece of Velcro
Method
Measure the length of the cape that you want your child to wear Suppose you want the length to be around 20 inches then leave around 5 inches extra on top for the neck
Lay the fabric on the cutting table or the floor with it folded for you to cut. Give it the shape of a cape with more width at the bottom and just a little less on the top Cut two pieces one in each colour of the fabric
Now cut any shape of the felt you want either your child’s initial or a random shape Sew the felt on top of the cape slightly below the base of the neck Now take your sewing machine and stitch all sides of the cape with both colours right till the end of the neck.
Leave a small opening at the top to push the stitches inside, press it flat and close it with a top stitch. Cut the Velcro into two parts and stitch at the bottom of the top edge and the other at the top.Your awesome little superhero cape is ready to be worn!
.